

Initially, we had planned to leave the silage tarp on for a full 4 weeks to kill all weeds and weed seeds. I’m getting restless to wait for the full 4 weeks this late in the season and I’ve been listening to testimonies from various no-till farmers who have been able to prep a bed with just a week or 2 under silage tarps, so we will experiment by uncovering half of the area after just 2 weeks and let half get the full 4 weeks of solarization.
I’ve been back and forth about what width to use for the rows, but I think I’m settling on 30” since that will match the width of the bed prep rake I ordered from Johnny’s Selected Seeds. I’m not super into gear and tend to err on the side of not getting what I need, so I’m really stretching myself to get a couple of long term tools. In addition to the rake, I also purchased a stirrup hoe for weed cultivation plus a bunch of row marker stakes that I may use to mark out the initial raised bed rows as well. I am expecting to need to buy a broadfork in the next year or 2 if we stick with the no-till route, since we won’t be using heavy machinery to combat compaction in the soil.
Getting a head start on spreading compost and transplanting into the first half of the plot will also give me a better idea of whether I need to purchase additional compost beyond what my dad has collected on site. Initially I had expected we would need something like 3” depth all over, but most of the reading and podcast listening I’ve done has shown me that 1-2” will be plenty. At 3” depth I would have needed 10 cubic yards of compost - which was a big expense, but mostly I was having a hard time picturing how I would get that much spread as quickly as I would need to on a single trip, since the garden is not where I live full-time. A total goal of 5 yards of compost, split up into 2.5 yards for each prep day will be much more realistic!
A pumpkin patch for fall
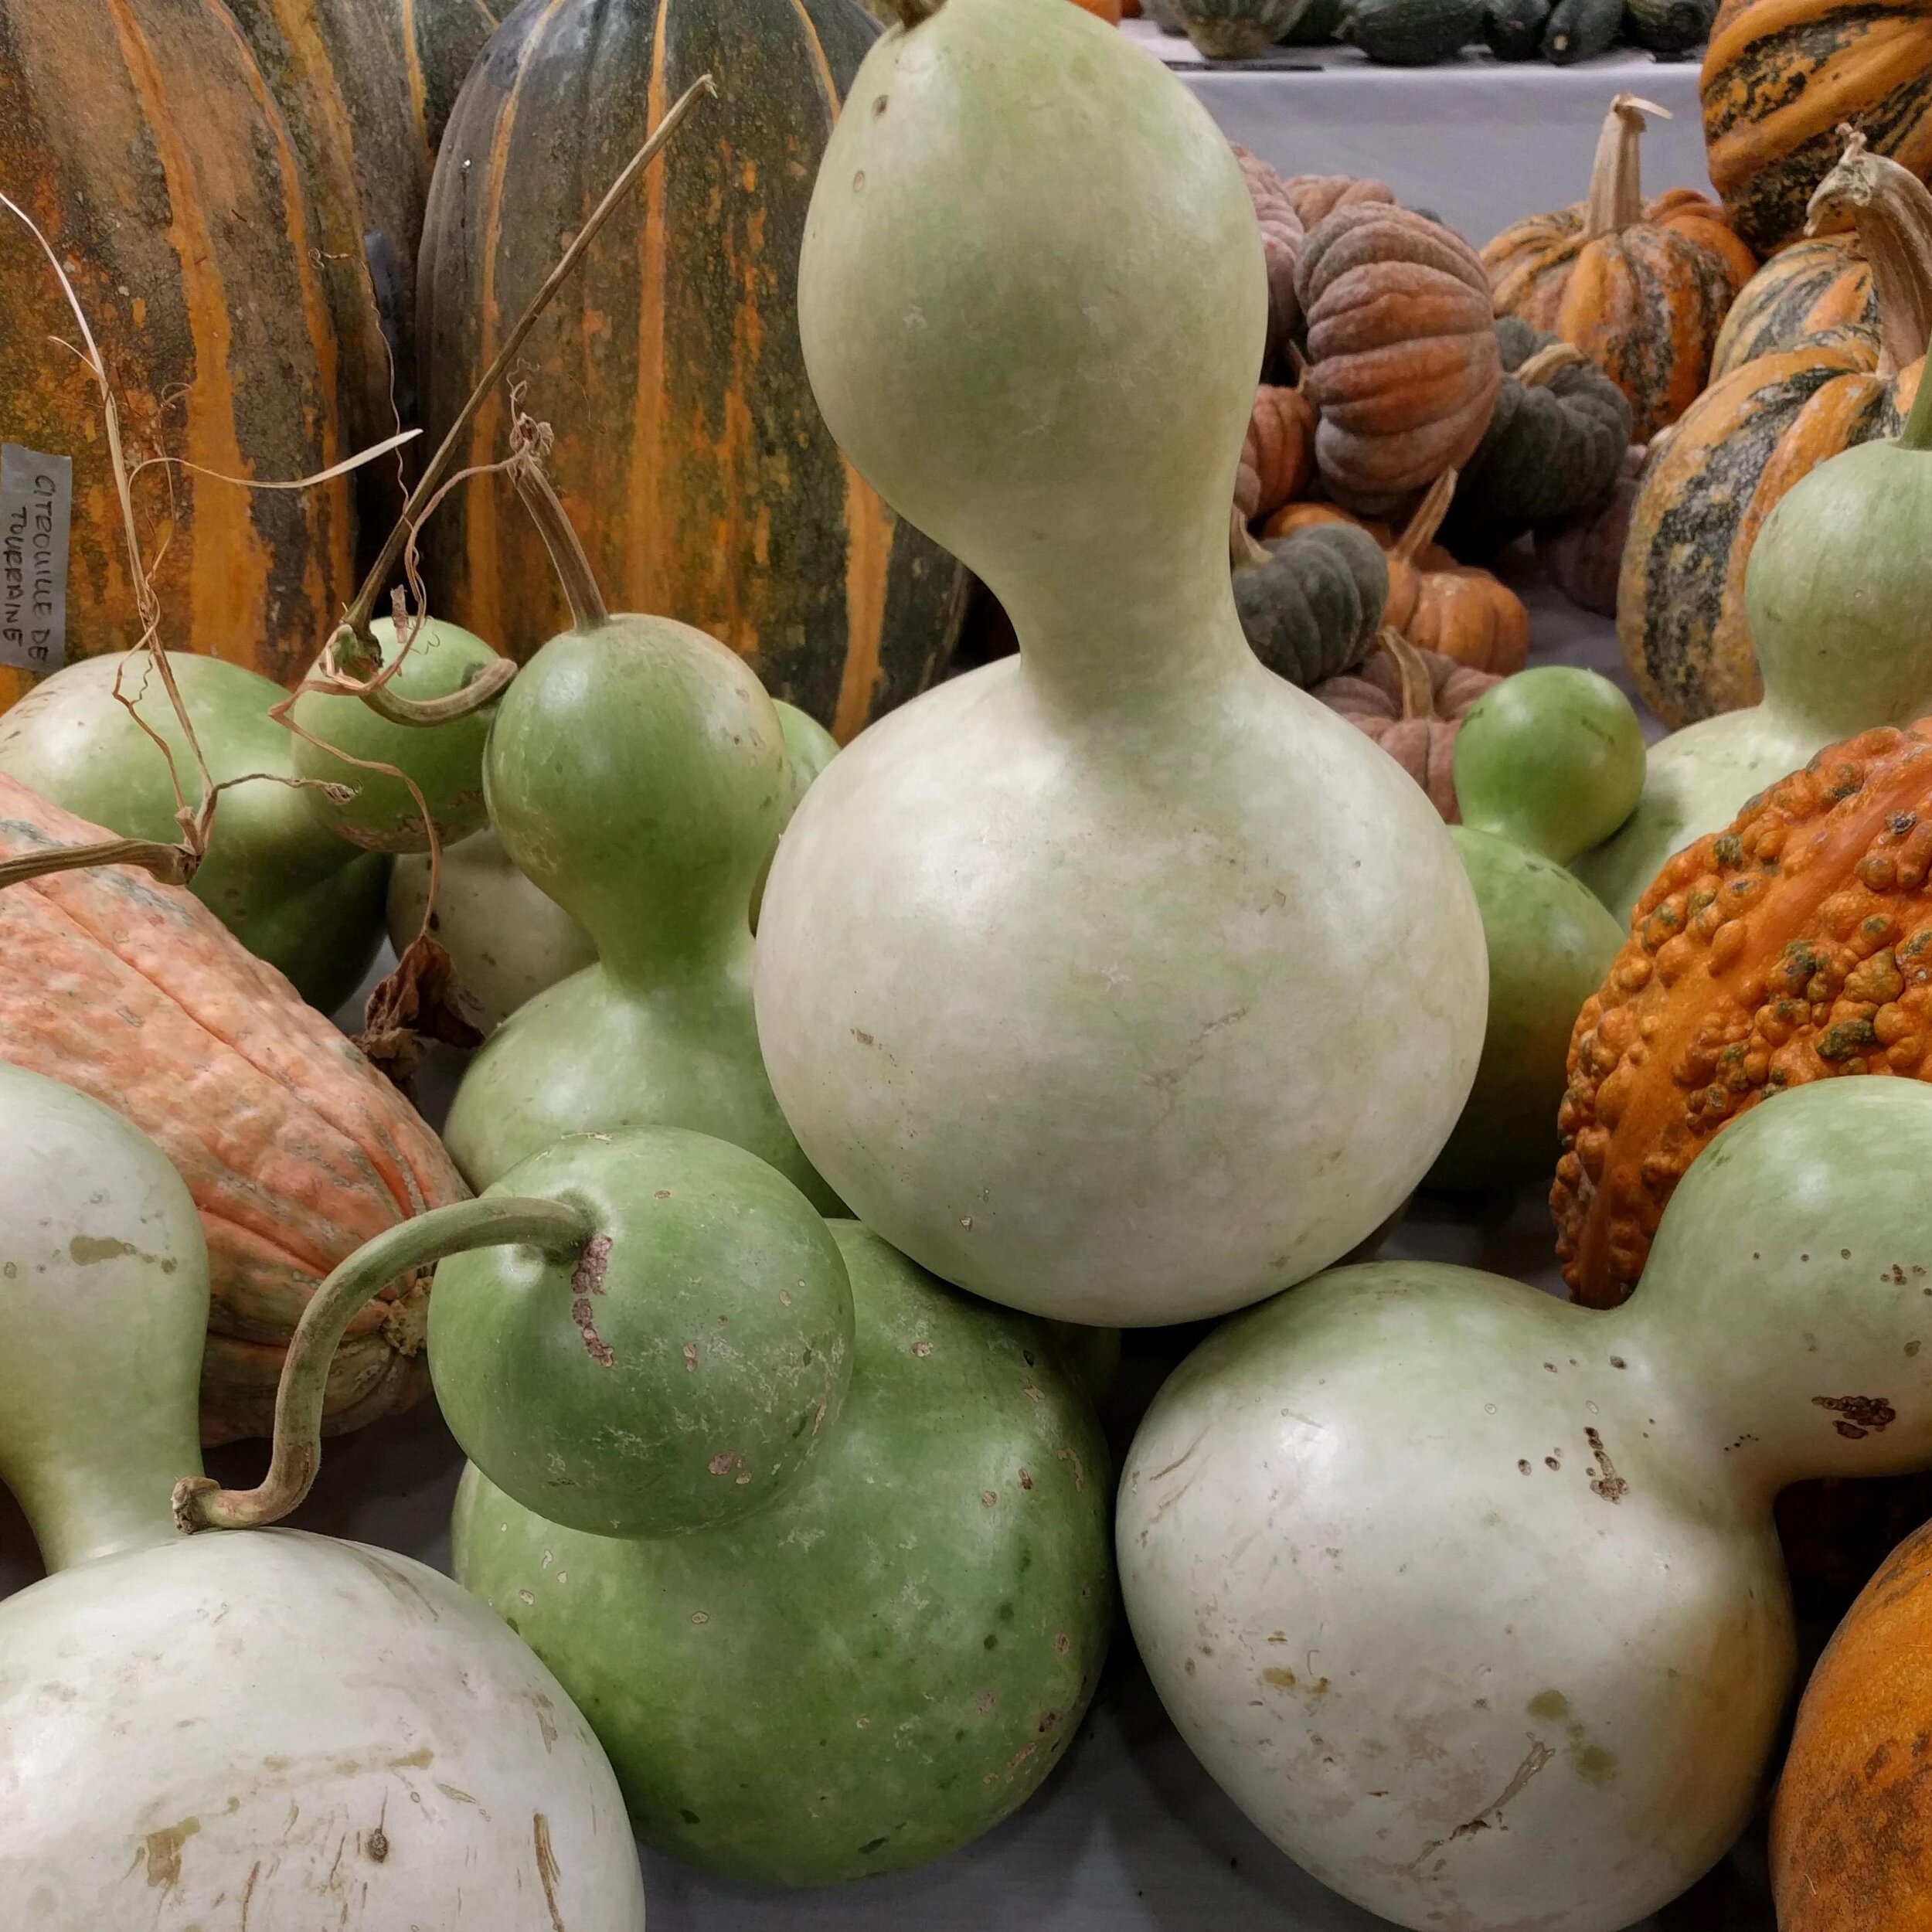
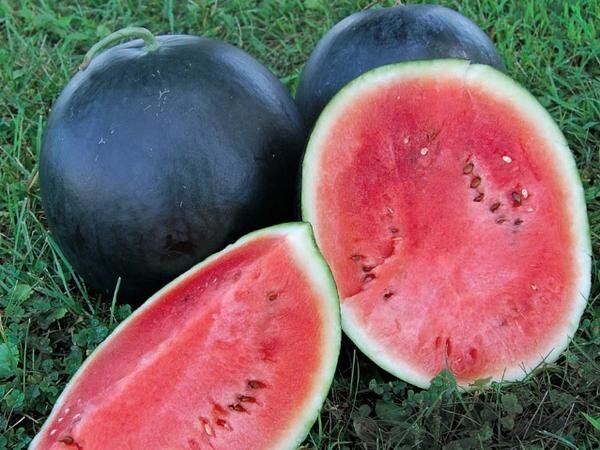
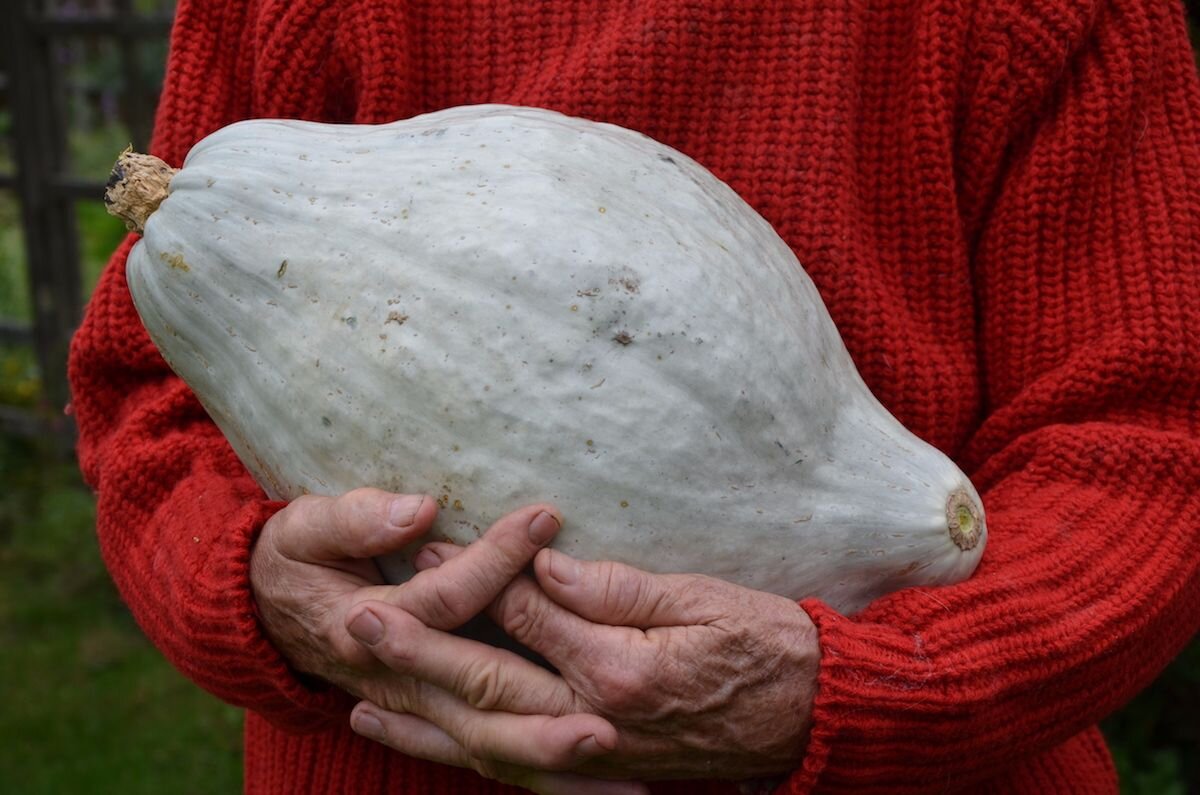

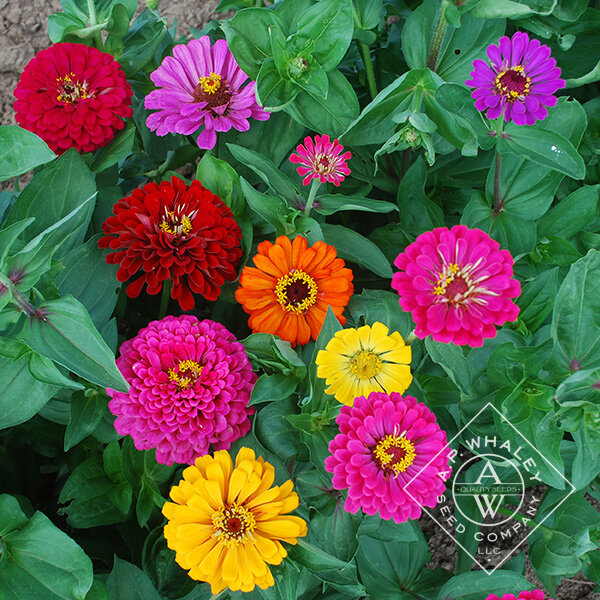


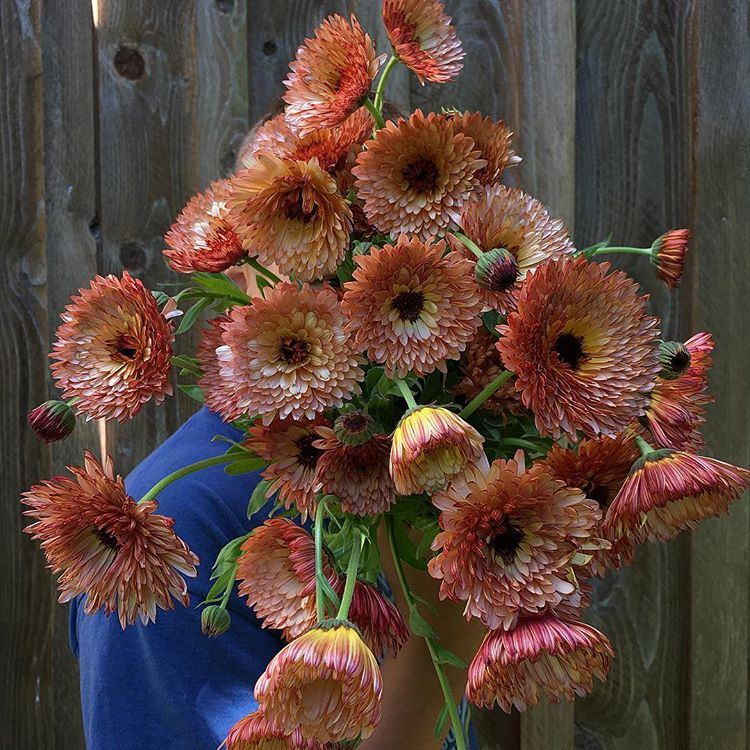

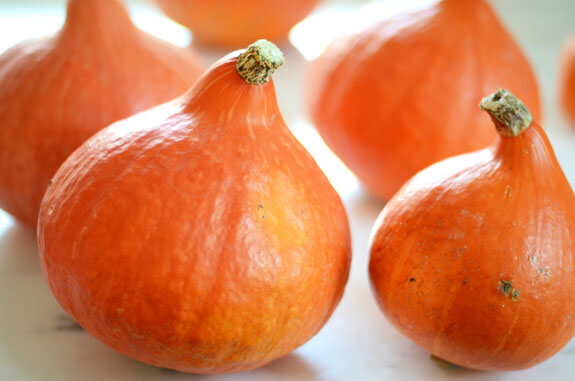

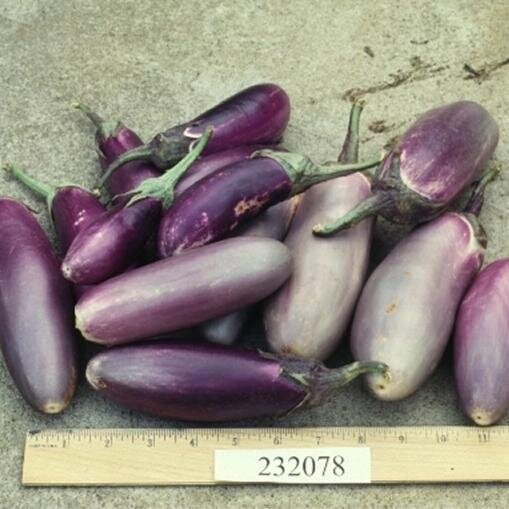
L-R: Birdhouse gourd, Blacktail Mountain watermelon, Blue Hubbard squash, Butternut squash, California Giant zinnia, Connecticut field pumpkin, Seminole pumpkin, Zeolights calendula ,Spaghetti squash, Red Kuri squash, Mammoth sunflower, Kopec eggplant
Another big motivator for getting the first set of beds in ASAP has been the squash plants. I started them as seeds inside at the beginning of June and now - as of June 18th - they have been potted up once and are looking enormous and super ready to survive outside through the fall.
Sowing late-summer cover crops
I’m excited to try a couple of summer cover crops that should grow into the fall and die off naturally over the winter. These sorts of plants give a few advantages:
Keep the soil and compost covered: When no big-ticket veggie crops are growing, the bed needs to be covered to protect the topsoil from erosion, plus insulate some of the important life that goes on below the soil that we’ll want to be there ready to go when we plant again with veggies in the spring
Attract pollinators (especially the flowering barley)
Create a big mass of green “manure”—essentially just grows a bunch of material that can be used as future mulchy compost
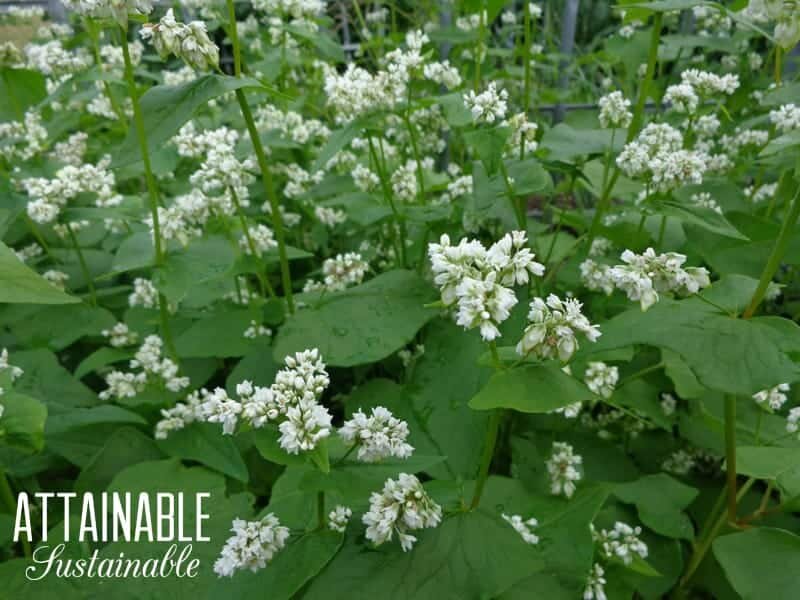
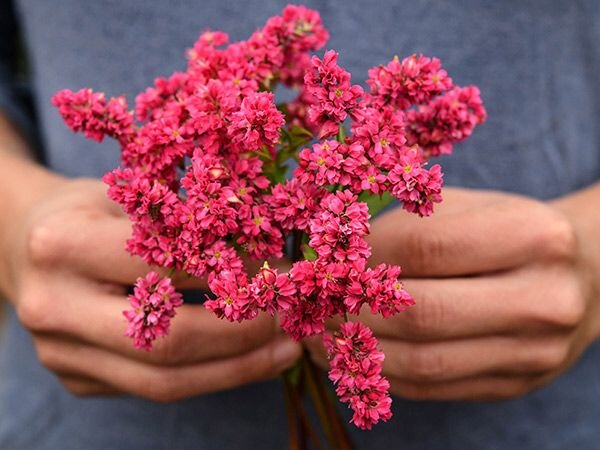
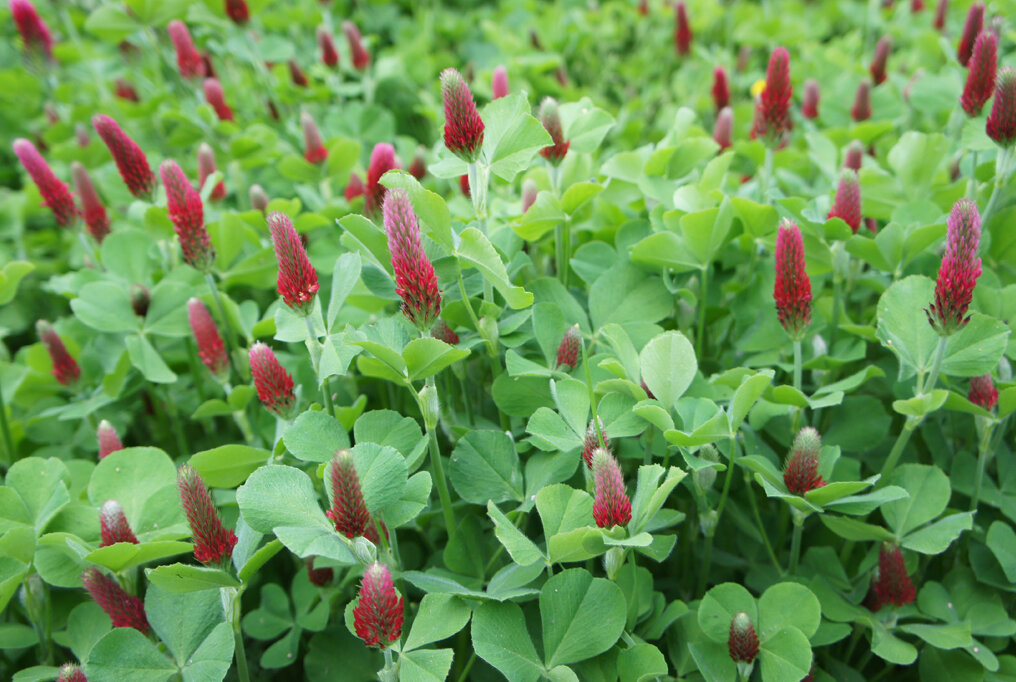


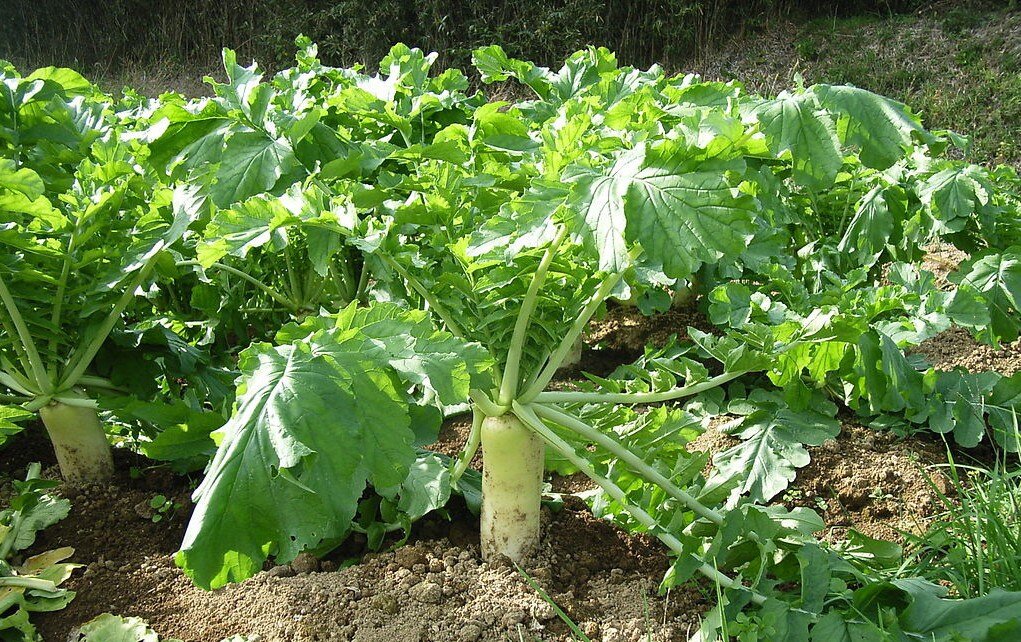
L-R: White buckwheat, Takane Ruby buckwheat, Crimson clover, Cowpeas, Black Amber Cane Sorghum, Deep till radishes
I’m excited to try out some cover crop combos, like:
Buckwheat + crimson clover: The buckwheat is great for pollinators and can shade the more-sensitive clover as it gets started. Buckwheat also gets an easy start at choking out other weeds.
Sorghum + cowpeas: the cowpeas can grow sprawled out on the ground, but with something upright and sturdy (like sorghum canes) growing nearby, the pea plants can climb and get some better production. Cowpeas are also edible (i.e. black eyed peas), and the sorghum (if we leave it long enough for it to put out seeds) makes great chicken food.
Deep till radishes with any of the above can help bust up clay soil and get some drainage into soil where we won’t be dragging though with a tiller.